 Image to 3D Model
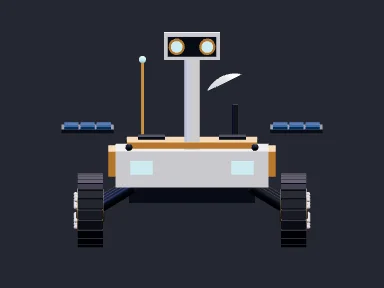
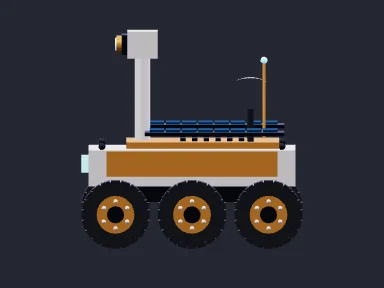
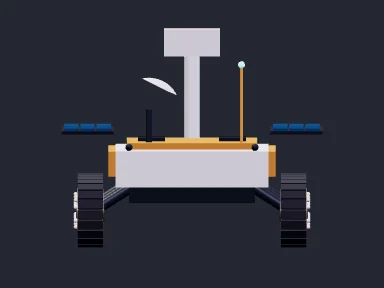
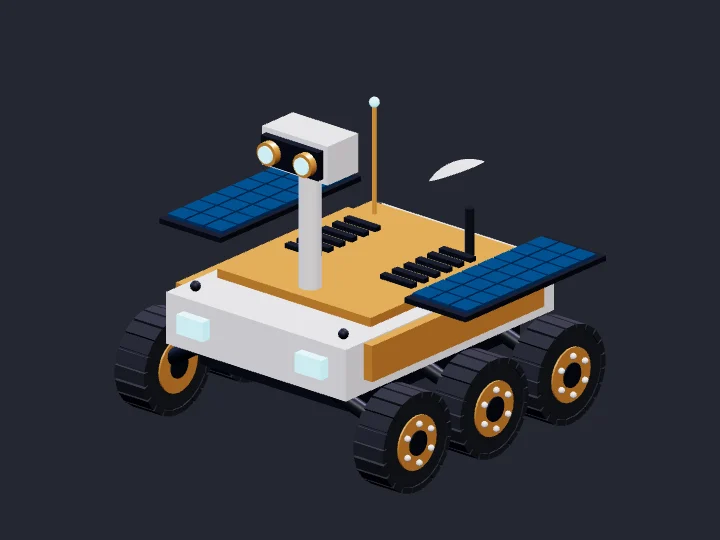
How to choose views for multiple images to 3D model
Before you start a multiple images to 3D model project, decide which surfaces matter. For a camera prop, the front shows the lens mount, the side shows how far the grip sticks out, and the rear captures the screen and buttons. Add a top shot if the viewfinder is hidden.
Photograph the same object in the same state throughout the set. Keep the lens, lighting and distance as consistent as you can. Leave enough margin to keep the whole object visible. For small objects, put the item on a plain surface and move the camera around it, or rotate the item without changing how its parts are arranged. Keep close-ups of seams or labels as separate notes. In the angle slots, use photos that show the whole object so you can see where those details belong.
Choose a front view
For a backpack, use the pocket side as the front. For a robot, use the side with the face or controls. Keep the whole silhouette in frame with a little space around it. Use a sharp photo so seams and cutouts are easy to match across views. If the object has no obvious front, choose one face as front and label every other photo relative to it.
Add side and rear views
Take a side photo when you need to show depth, a profile or how parts overlap. On a camera, photograph the side with the grip so its depth is clear. Add the opposite side if features differ, such as a lever on one side and a flat panel on the other. Take a rear image when there are straps, connectors, hinges or other details behind the subject. A left or right 45° view can connect the front and side by showing both surfaces together, especially where a corner looks like two separate edges in straight-on photos.
Use top and bottom views for hidden details
A top view can show the width of a rim. A bottom view can show feet or recesses hidden by the base. A top view helps with a desk lamp if it shows where the arm joins the shade. Add an underside shot if you need the shape of the opening. You can skip a shot that only repeats the outline from another angle.
Match photos to the angle slots
Compare the photos side by side to check that the pose and attachments match. Keep the original files so you can compare results after a reshoot. Use the angle labels in Add view images to put the front in Front and each additional photo in its matching slot. The workspace accepts two to eight views, including Front. Use JPG, PNG or WebP files up to 6 MB and 40 megapixels per image. Check the thumbnails before choosing Done. Pay particular attention to mirrored photos, which can put a feature on the wrong side.
When to generate from one image or several views
Start with one image when you are exploring a concept, have only a single illustration or plan to design the hidden surfaces yourself. A clear three-quarter image can show width and depth at once. A straight front view can hide the thickness of a handle. If you only have one picture, start with the image to 3D model generator and write down which surfaces still need design work.
A multiple images to 3D model workflow helps when a prop must match a real object or be seen up close from several sides. If the player can pick up and turn over a prop, include the back and underside. For a prop that sits against a wall and is seen at a distance, you might spend more time documenting the readable silhouette than photographing every screw on the back.
Example: turning photos of a desk lamp into a 3D model
Leave the lamp unplugged and hold the arm in one position for the whole shoot. Start with a front photo that includes the base, switch and shade. Take a side photo at the same height so you can see how far the shade reaches over the base. If the cable exits at the back, add a rear photo with the cable resting in the same position. An angled shot is useful if the shade covers the joint where it meets the arm in both straight views.
After generation, turn the lamp sideways in the viewer and check the space under the shade and between the arm and base. If two parts are joined where there should be a gap, check whether the gap was visible in your references. Try a new angle with a plain backdrop visible through the opening. If the gap was already clear, mark it for a mesh edit.
Common problems in multi-view 3D reconstruction
The object changes between photos
A bag with folded straps in one image and extended straps in another describes two shapes. The same issue occurs with a chair that swivels between shots or a character whose arms move. Reset the object and reshoot the inconsistent photos. With independently generated illustrations, check that the number of parts, seam positions and silhouette agree across views. If a drawing contradicts the rest, correct it or leave that slot empty.
Perspective or glare hides the shape
A close wide-angle shot can make the near end of a long prop look much larger than it does in the other views. Step back and keep the framing consistent. On glossy objects, move a light or use diffused light to keep bright reflections from covering edges. When you line up the photos, use the object’s edges and seams as landmarks. Highlights can move as the camera moves.
A small opening or thin part disappears
Openings, spokes and thin handles can blend into the background or disappear behind another part. Pick a backdrop that contrasts with the edge and add an angle where you can see through the gap. For a mug handle, compare the side profile that shows the opening with an angled view that shows both attachment points. Keep the gap in focus.
The photos show proportions but give no sense of size
A miniature crate and a full-size crate can look identical in photos. Record the real width, height and depth separately, with units, and measure any feature that has to fit something else. For example, if a prop goes into a slot in a game scene, note the width at the point of contact rather than the widest part of the prop. Keep those measurements with your files and compare them with the dimensions reported by your editor or slicer. A ruler in a separate reference photo can help a collaborator locate what you measured without cluttering the images you assign to the workspace.
How to check your model in the GLB viewer
Open the generated model and rotate it to match your front, side and rear photos. Check the outline against each photo. You can try the same checks on the sample or on a GLB from your device. Switch to wireframe when you need to see whether a groove or panel edge is part of the geometry or only painted into the texture. Notice where a thin piece joins the body and check whether visible gaps continue through the model.
If a handle looks right from the front but flat from the side, try a side photo that shows its thickness. If the wireframe follows the right shape but the color stretches across a corner, check the texture mapping in your 3D editor.
When handing the model to someone else, include the reference angle and a screenshot for each issue you flag. “The rear bracket floats above the base” gives them a specific place to check.
Questions about generating from multiple images
How do I generate a 3D model from multiple images?
In Multiple Images to 3D Model, add a front image and at least one other angle. Sign in, choose Generate 3D model and check the result against your photos in the GLB viewer.
Which two angles should I use if I cannot take more photos?
Start with the front and a side view for a deep object such as a chair. For a backpack with distinctive straps, use the front and back. A 45° view works well when a detail crosses a corner.
Can I mix photos and AI illustrations of the same design?
You can use them as visual references if their silhouettes and details agree. Compare them closely before treating them as views of one object. If a generated rear view invents an extra panel or moves a hinge, keep it as a design idea and exclude it from the matching reference set.
Does adding more views guarantee a better 3D model?
No. Extra views help when they show distinct surfaces and agree on the shape. A blurry duplicate or a photo taken after moving a part adds ambiguity. Review thin parts, hidden surfaces and holes manually even when you have photographed them from several angles.
Should I keep the GLB or export to STL?
Keep GLB for embedded materials. Export STL for slicing and check units, open edges and wall thickness in your slicer.